CIS-11 Home http://www.c-jump.com/CIS11/CIS11syllabus.htm

Introduction: Microsoft Office PowerPoint


  1. Microsoft PowerPoint
  2. AutoContent Wizard
  3. Starting the AutoContent Wizard
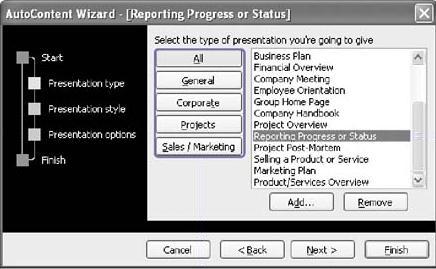
  4. Using the AutoContent Wizard
  5. AutoContent Wizard Step 1
  6. AutoContent Wizard Step 2
  7. AutoContent Wizard Step 3
  8. What is a Template ?
  9. Applying a Design Template
  10. New Presentation with a Template
  11. Apply a Template to an Existing Presentation
  12. The PowerPoint Window
  13. Normal view
  14. Outline Pane
  15. Slide pane
  16. Slide Sorter view
  17. Slide Show view

1. Microsoft PowerPoint


2. AutoContent Wizard


3. Starting the AutoContent Wizard


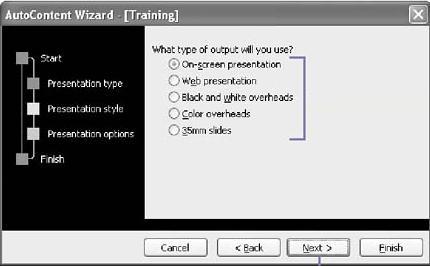
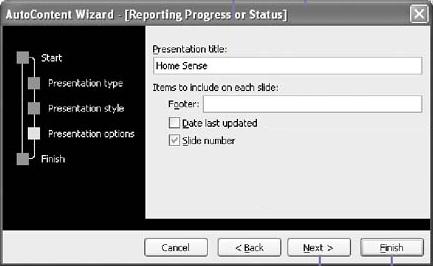
4. Using the AutoContent Wizard


title
  • Select presentation output option

  • Enter a presentation title

  • Items for each slide

  • Enter a presentation footer (optional)

  • Select or clear the Slide Number check box.

5. AutoContent Wizard Step 1


6. AutoContent Wizard Step 2


7. AutoContent Wizard Step 3


8. What is a Template ?


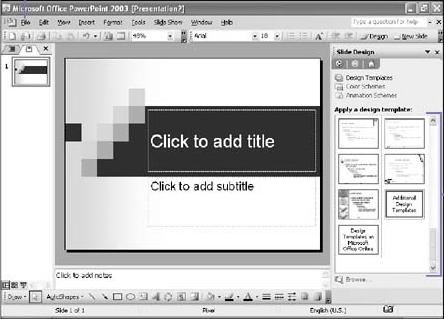
9. Applying a Design Template


Applying a Design Template
  • Templates: a collection of professionally designed slide prototypes.

  • Create effective presentations.

  • Templates have professional design and formatting.

  • Templates provide format and color scheme,

    • you add text.

10. New Presentation with a Template


New Presentation with a Template
  • File menu,

    • New

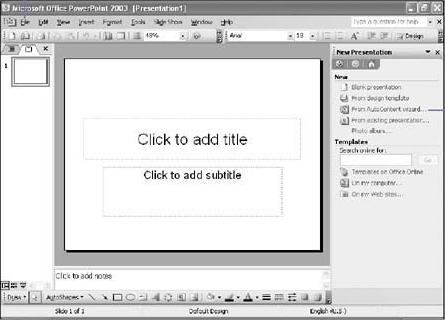
    • Task pane

    • From Design Template

    • Click the slide design you want

11. Apply a Template to an Existing Presentation


Apply a Template to an Existing Presentation
  • Formatting toolbar

    • Click the Slide Design button

    • Select design you want

    • Click Apply To All Slides,

      • or Apply To Selected Slides.

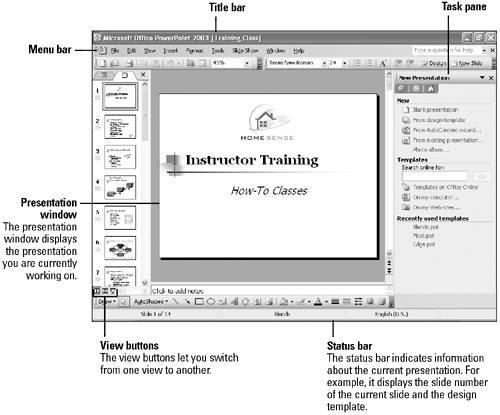
12. The PowerPoint Window


The PowerPoint Window
  • Our next task:

    • Understanding PowerPoint Views


  • PowerPoint provides three different views:

    • Normal;

    • Slide Sorter;

    • Slide Show.

  • Switch views by clicking view button next to the horizontal scroll bar.

  • Zoom feature works in any view.

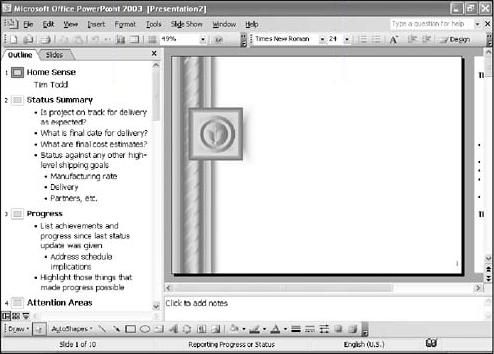
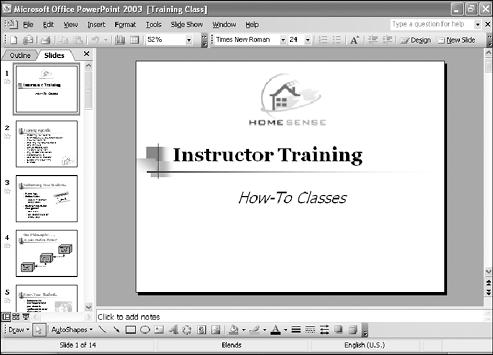
13. Normal view


Normal view
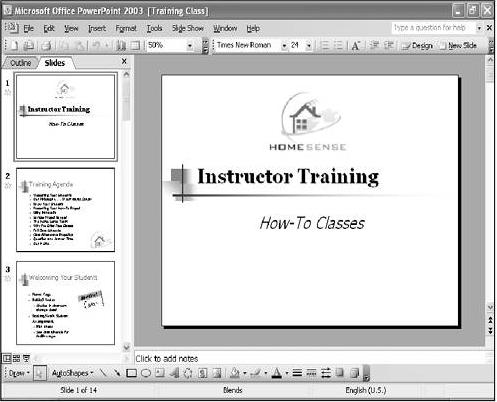
  • Normal view has:

    • the outline,

    • the slide,

    • the notes pane.

  • Drag pane borders to adjust the size of the working areas.

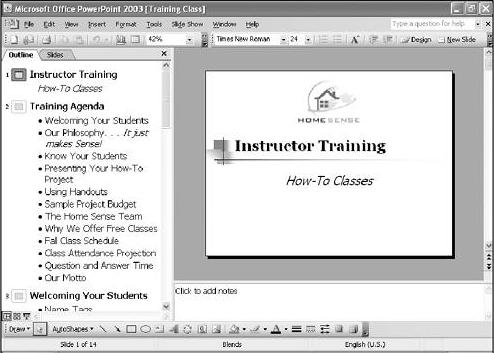
14. Outline Pane


Outline Pane
  • Slide icon appears for each slide.

  • Individual slides are numbered.

  • Use Normal view/Outline pane to develop your content.

15. Slide pane


Slide pane
  • Use Normal view Slides pane to preview slides.

    • Click the slide you want to view.


  • Vertical scroll bar:

    • Move through slides using the scroll bar, or:

      • Previous Slide button

      • Next Slide button

    • Dragging vertical scroll bar:

      • a label appears to indicate the new slide.

16. Slide Sorter view


Slide Sorter view
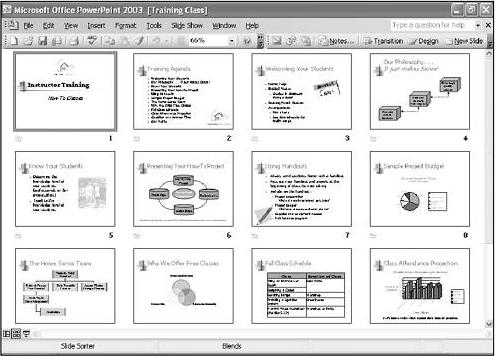
  • Use the Slide Sorter view to organize your slides.

  • Add actions between slides:

    • Slide transitions.

    • Icon will appear to indicate the transition or other action.

  • Use Slide Sorter toolbar to

    • add transitions

    • add other controls to the presentation.

  • Hidden slide icon indicates that slide will not be shown during the presentation.

17. Slide Show view


Slide Show view
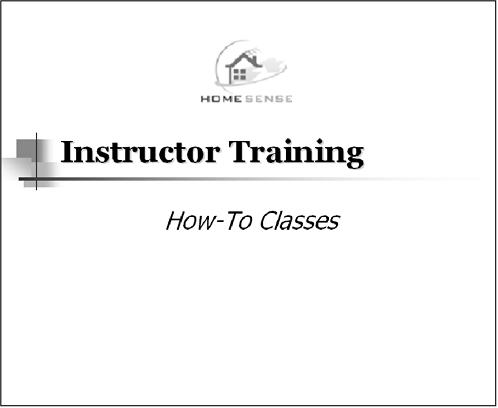
  • Slide Show view presents your slides one at a time.

  • Use it to rehearse or give the presentation.

  • Click the screen to move through the slides.

  • Press Enter to move through the show.