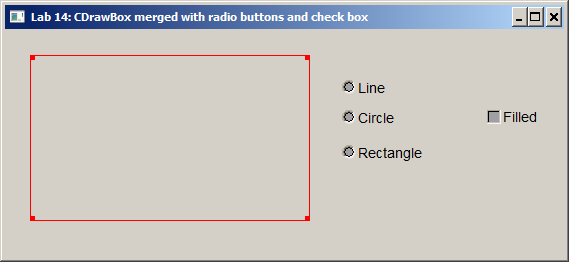
In this lab we merge the code from
-
Lab 10, which implements custom drawing in CDrawBox, and
-
Lab 13, which demonstrates the use of the radio buttons and the check box widget:

Course list http://www.c-jump.com/bcc/
In this lab we merge the code from
Lab 10, which implements custom drawing in CDrawBox, and
Lab 13, which demonstrates the use of the radio buttons and the check box widget:

We will use Lab 10 project as a prototype for this exercise. Make a copy of Lab 10 subfolder
c255labs\labs\c255_lab10_mouse
or download and unzip c255_lab10_mouse.zip
Rename the new folder as c255_lab14_draw_box.
Open solution file in Visual Studio and finish the usual steps to rename the project.
Start FLUID program and open Lab 13 project
c255labs\labs\c255_lab13_check_box\fluid_project\CFluidWindow.fl
Using FLUID tree view, select group of the radio buttons and the check box widget. Click menu
Edit/Copy
to copy the widgets to the operating system's clipboard.
Open Lab 14 FLUID project
c255labs\labs\c255_lab14_draw_box\fluid_project\CFluidWindow.fl
Resize the window to make it a little bigger.
Select Window win_app object in FLUID tree view. Use menu
Edit/Paste
to paste the widgets and re-position them as necessary.
Save FLUID project and generate C++ code by
File/Write Code...
Open solution
c255labs\labs\c255_lab14_draw_box\c255_lab14.sln
in Visual Studio.
Compile and test the program.
Clean the solution by
Build -> Clean Solution
Exit Visual Studio, or close the solution by
File -> Close Solution
Delete .SDF file, Debug, Release, and ipch folders from the project directory.
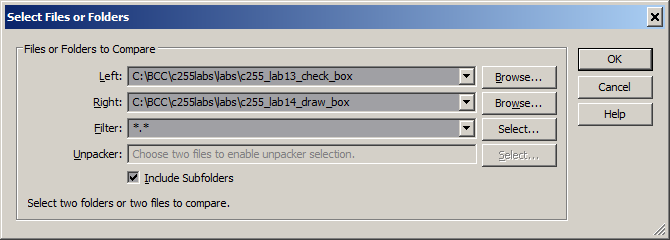
Use WinMerge to compare Lab 13 and Lab 14 folders. Use WinMerge menu
File -> Open
Specify locations of the two folders, for example,
    C:\BCC\c255labs\labs\c255_lab13_check_box
    C:\BCC\c255labs\labs\c255_lab14_draw_box

Click OK.
Double-click CMainWindow.h in WinMerge comparison view. The two files appear compared side-by-side with the differences highlighted.
Right-click every highlighted item and use context-sensitive menu to copy the code over from Lab 13 to Lab 14.
Save the changes by pressing CTRL+S or use File/Save WinMerge menu. Close the side-by-side view of CMainWindow.h.
Repeat the same steps for CMainWindow.cpp. Double-click the file and use side-by-side view to merge the differences.
Save the file when done and exit WinMerge.
Reopen solution
c255labs\labs\c255_lab14_draw_box\c255_lab14.sln
in Visual Studio.
Compile and test the program.
At this stage, the radio buttons and the check box don't do much except printing debug messages on the console window. However, all required callbacks are now in place, so we are ready to implement the logic for drawing alternative shapes in the next lab.
This is a self-learning lab. There are no files to submit. Make sure to complete all required steps to build and test the project on your own home computer.